Mastering the Art of Wall Repair: A Guide to Fixing Holes of All Sizes
Wall Repair Simplified: Patching Holes Big and Small
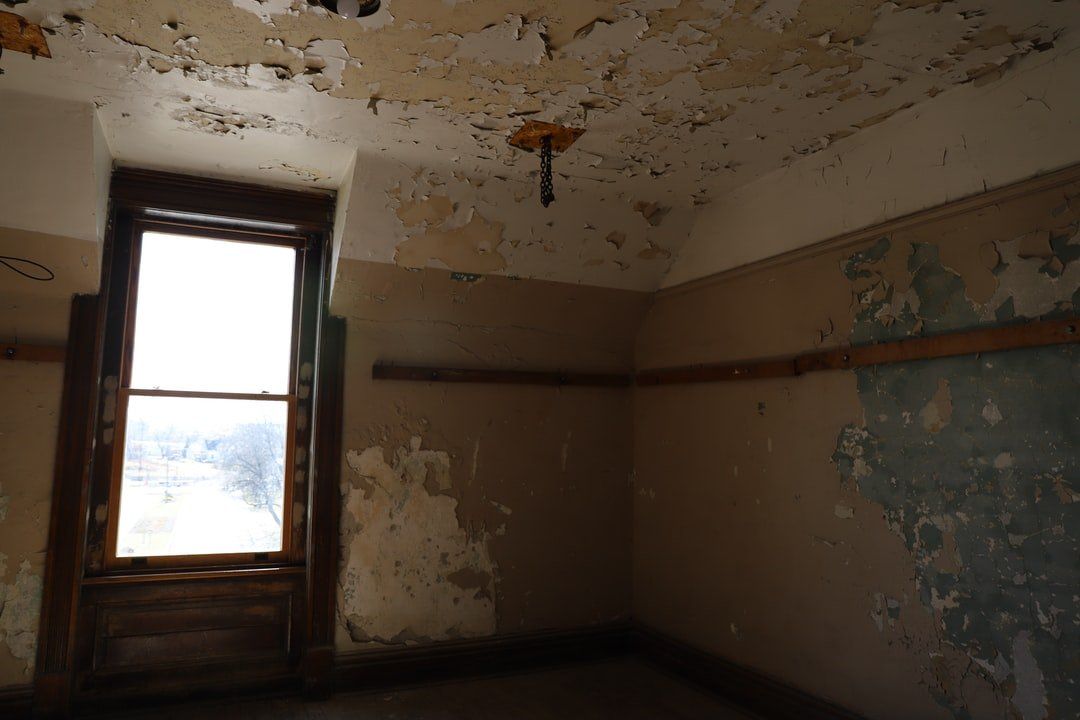
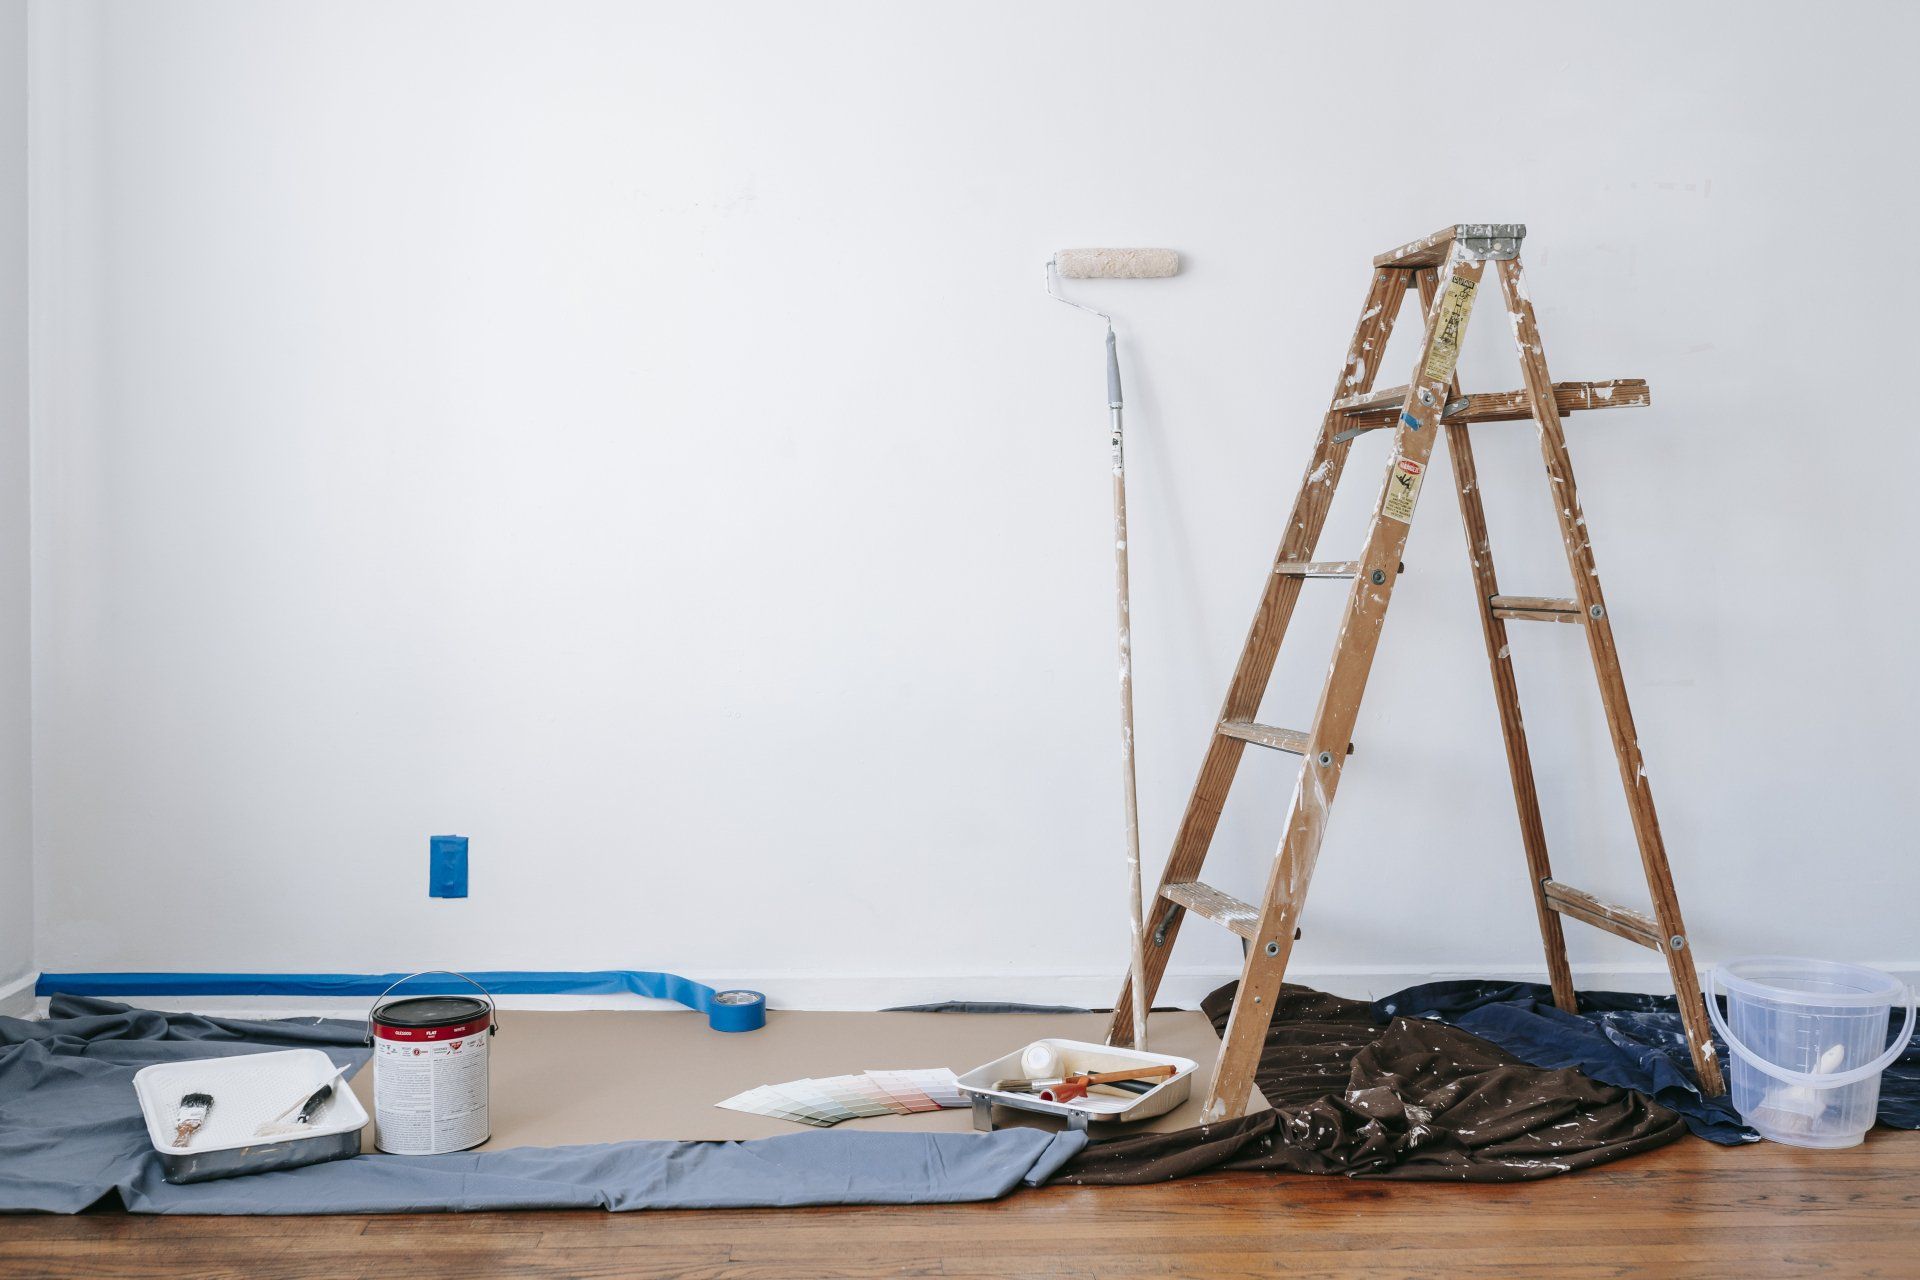
In the world of home maintenance and interior design, few mishaps are as common—and as frustrating—as discovering a hole in your wall. Whether it's a tiny pinhole that's an eyesore or a gaping void that's a glaring blemish, the journey from noticing a hole in the wall to completing a seamless repair can be fraught with challenges. Yet, with the right approach, fixing holes of any size becomes an achievable task, one that restores the integrity and aesthetics of your living space. This article delves into the nuances of hole in wall repair, offering a step-by-step guide to patching up those imperfections, from the minuscule to the monumental.
Navigating Through the Patchwork: Understanding Wall Repairs
The process of fixing a hole in the wall varies significantly based on the size and nature of the damage. From a small hole in wall repair to addressing a larger disruption, each scenario requires a tailored approach. Let's embark on a journey through the techniques and tips that will empower you to fix hole in wall challenges with confidence.
The Small Wonders: Fixing Tiny Imperfections
When it comes to a small hole in wall repair, the task is often less daunting than it appears. To patch small hole in wall imperfections, such as nail or screw holes, one needs minimal materials: spackle, a putty knife, and some sandpaper. The process is straightforward—apply spackle, let it dry, and then sand it down to a smooth finish. It's a simple yet effective method to patch up holes in wall surfaces, ensuring they blend seamlessly with the surrounding area.
Medium-Sized Matters: Middle Ground Repairs
For damages that are not quite small yet not excessively large—think doorknob impacts or smaller accidents—a more robust solution is needed. Patching hole in wall drywall in these instances involves using a patching compound or a self-adhesive patch as a foundation, followed by layers of joint compound to smooth over the area. This method ensures that the repair is not only superficial but also reinforces the wall's structure.
The Giants Among Us: Tackling Large Holes
Fix large hole in wall challenges require a more hands-on approach. Large hole in wall repair is a craft that involves cutting out the damaged area, installing a new piece of drywall, and then meticulously taping and mudding the seams. It's a process that demands patience and precision, as the goal is to make the repair invisible once painted over. For those who find themselves facing a substantial breach, this method proves that even the most significant damages can be rectified with time and effort.
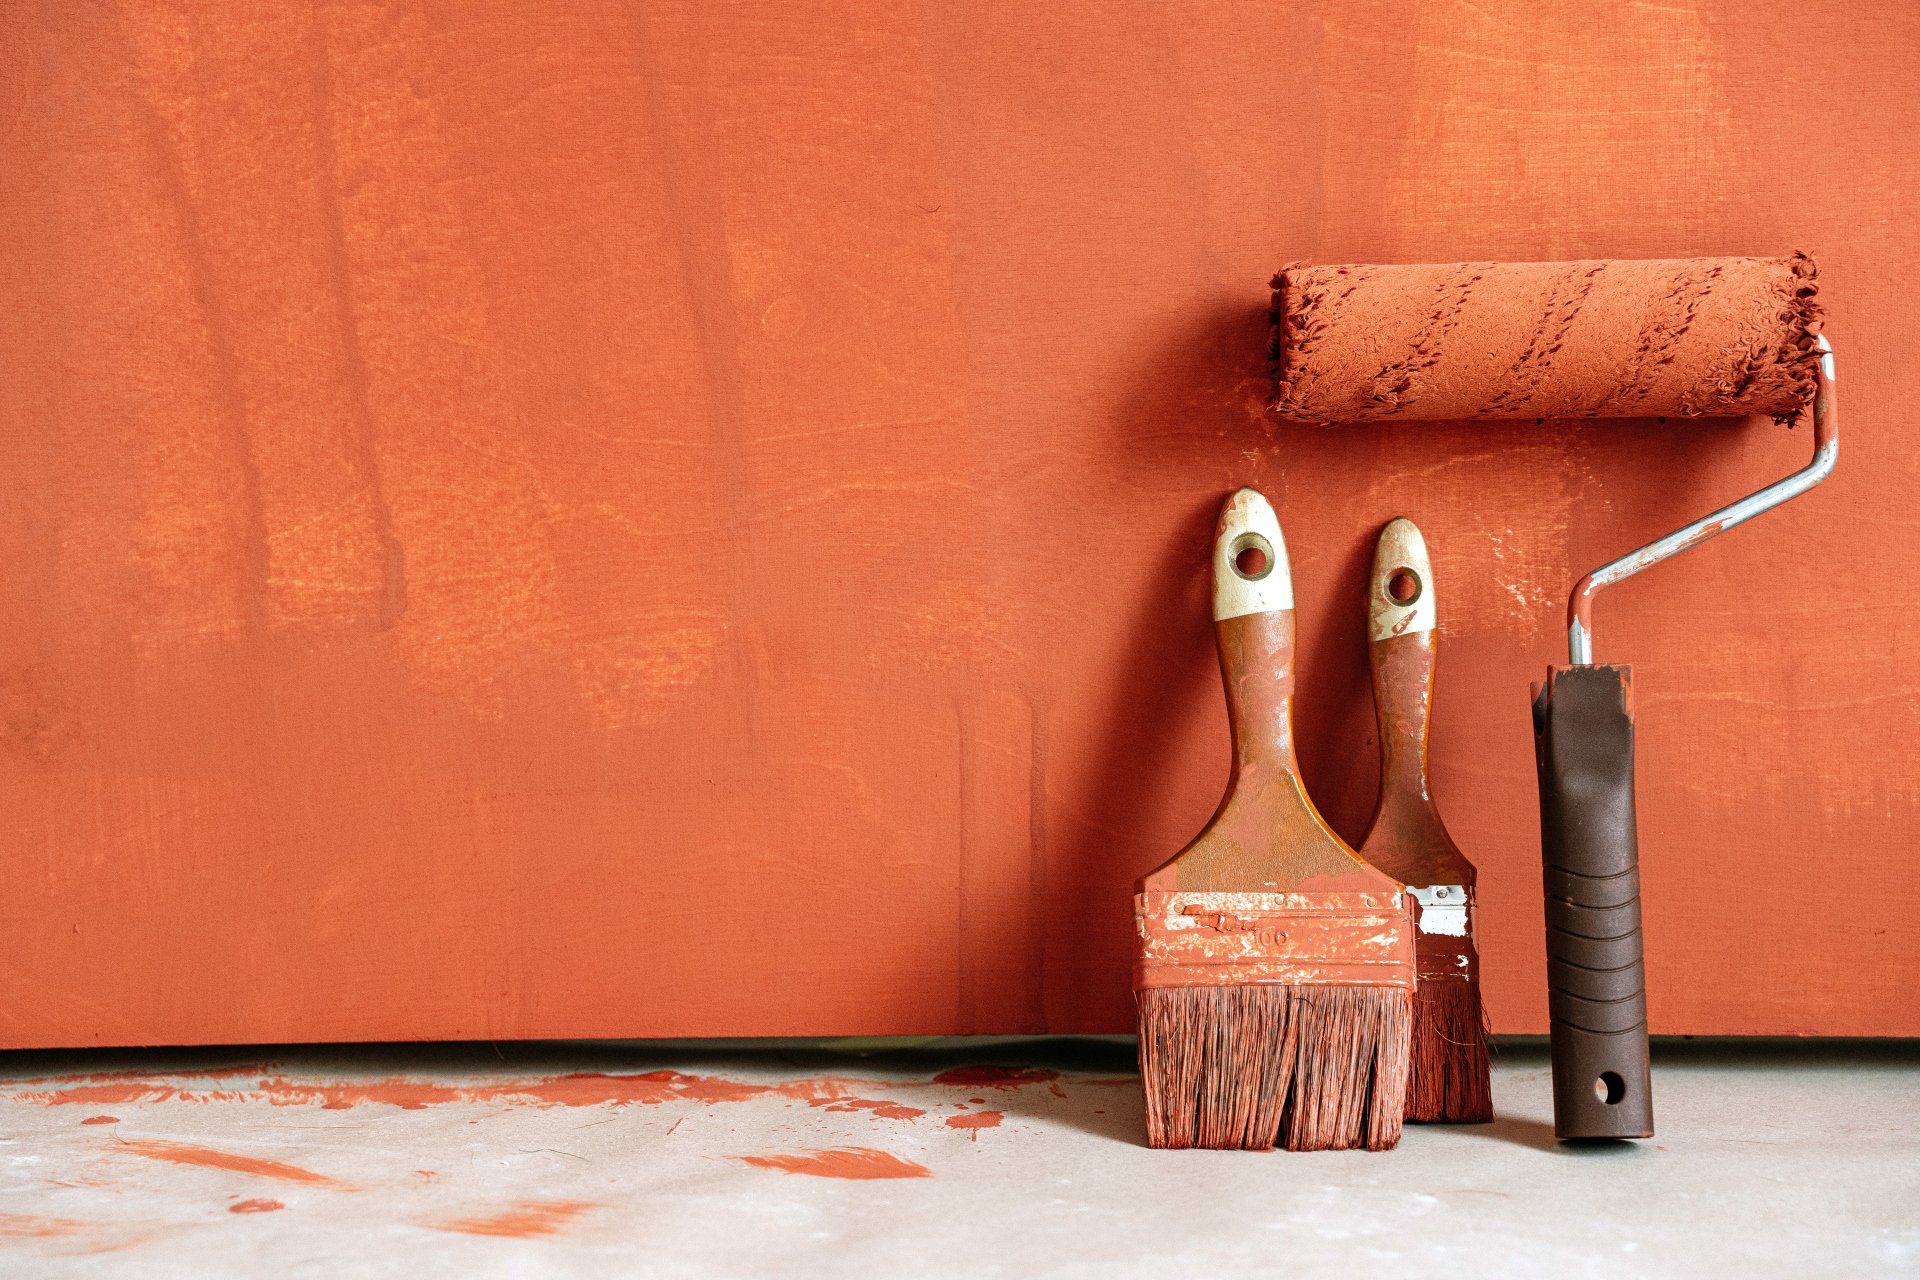
The Finishing Touches: Sanding and Painting
Regardless of the size of the hole, the final steps in the repair process are crucial. Sanding the repaired area to a smooth finish ensures that there are no discernible bumps or ridges, paving the way for the paint to glide on effortlessly. Choosing the right paint to match your wall's color and finish is the key to making the repair truly invisible, blending the patched area with the rest of the wall.
Pro Tips for a Flawless Finish
- Practice Makes Perfect: Before tackling the actual repair, consider practicing your patching technique on a scrap piece of drywall. This practice run can help you get a feel for the materials and tools, reducing the likelihood of mistakes.
- Quality Over Quantity: Invest in high-quality repair materials and tools. The right spackle, joint compound, and paint can make a significant difference in the durability and appearance of your repair.
- Patience Pays Off: Allow ample drying time between each step, especially when working with joint compound and paint. Rushing the process can lead to subpar results.
Restoring Harmony to Your Walls
Fixing a hole in the wall, regardless of its size, is more than just a repair—it's an act of restoration. It's about bringing back the harmony and beauty to your space, ensuring that your walls stand pristine and perfect. With the guidance provided, you're now equipped to tackle any wall repair challenge, turning what once was a daunting task into a manageable, even enjoyable project.
For more insights on home maintenance and repair, feel free to explore our homepage, delve into our blogs, or discover our range of services designed to keep your home in its best condition.
In the dance of drywall and spackle, every homeowner becomes an artist, and every wall a canvas waiting to be restored to its original glory. Whether it's a pinprick or a puncture, a scratch or a gash, the journey from damaged plaster to flawless finish is one of transformation—a testament to the resilience of our homes and the ingenuity of those who care for them.