Common Mistakes to Avoid When Repairing Drywall
Steer Clear of These Drywall Repair
Pitfalls for a Flawless Finish
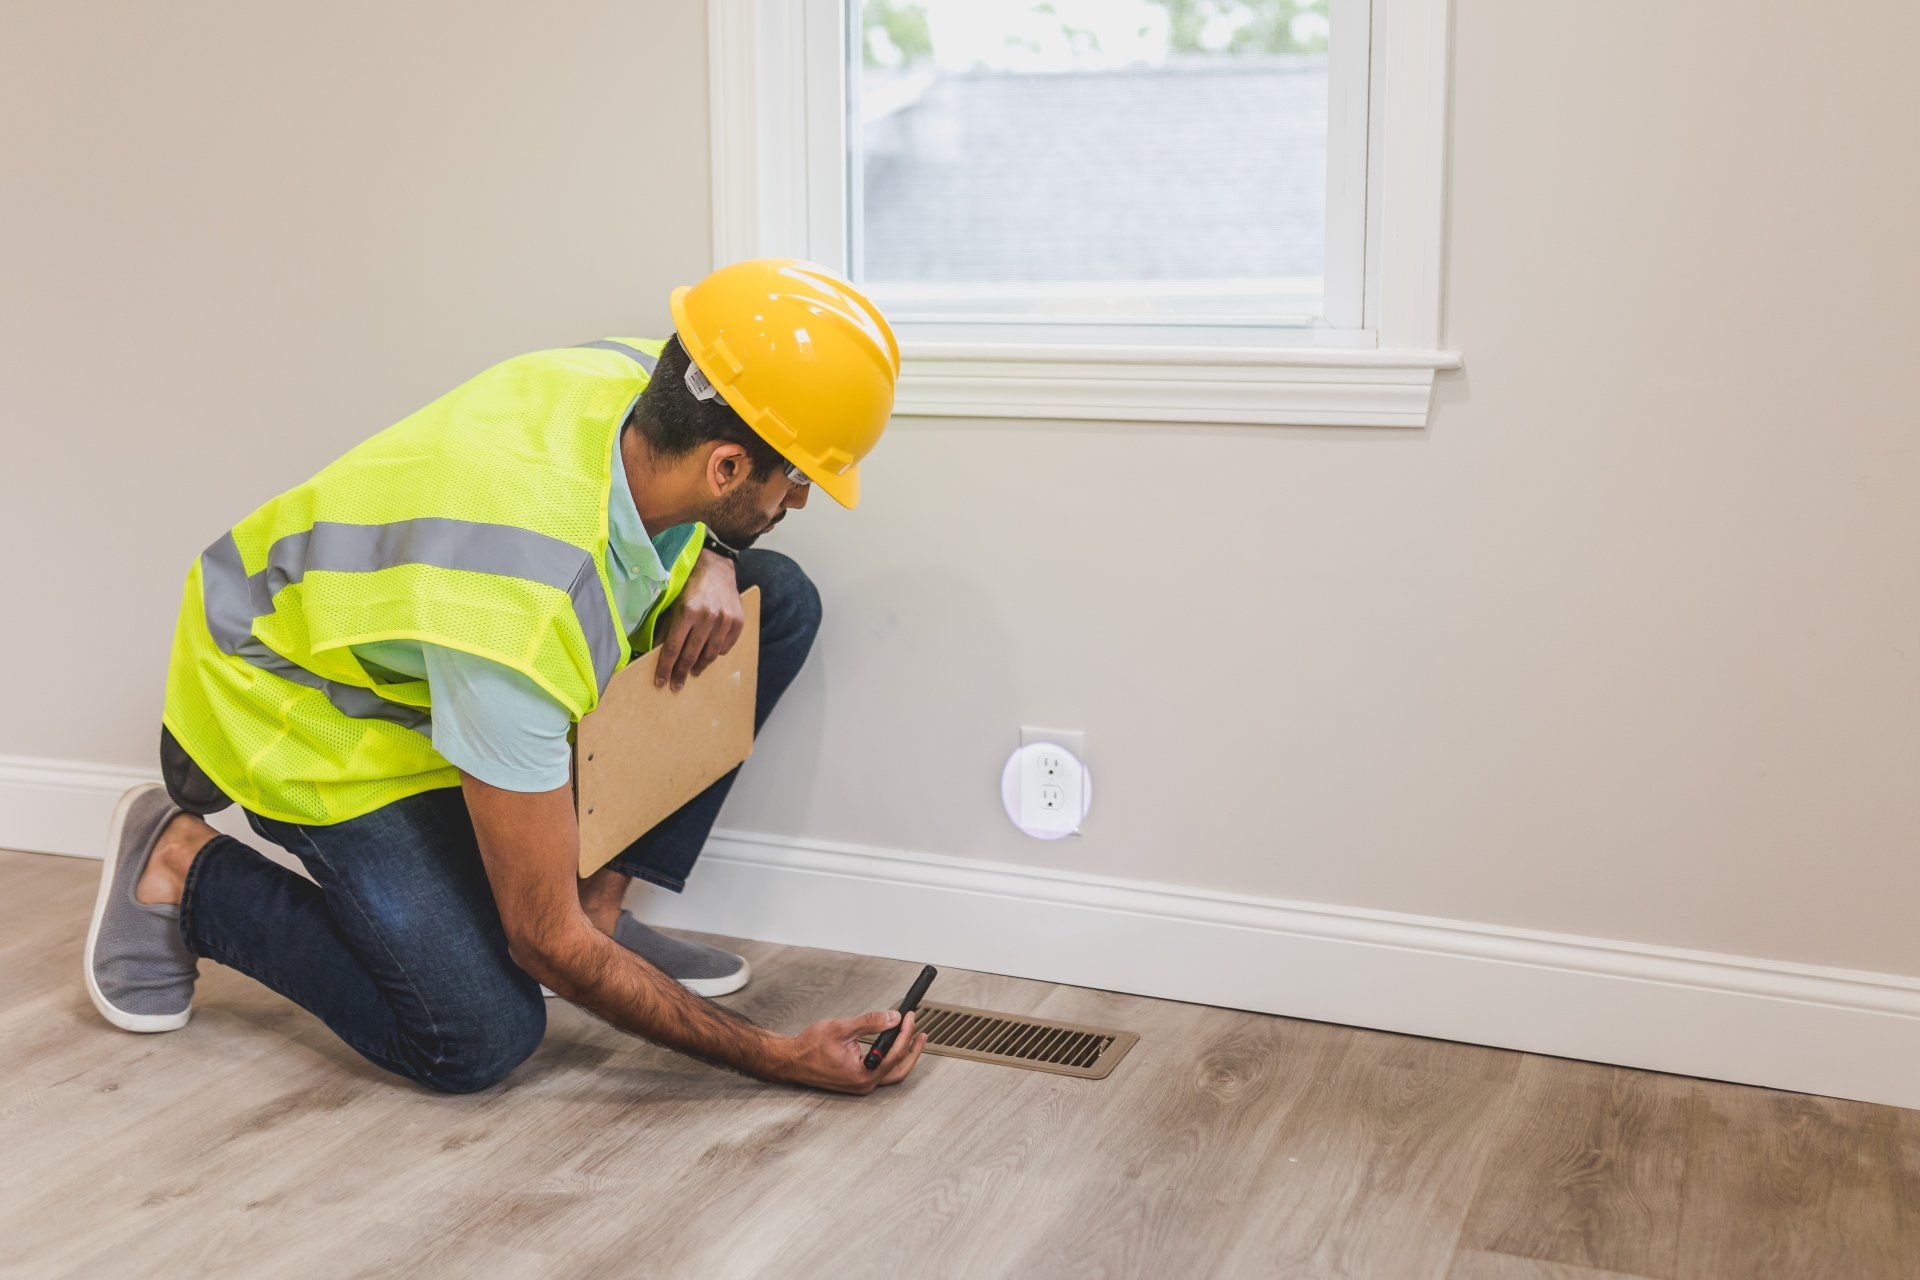
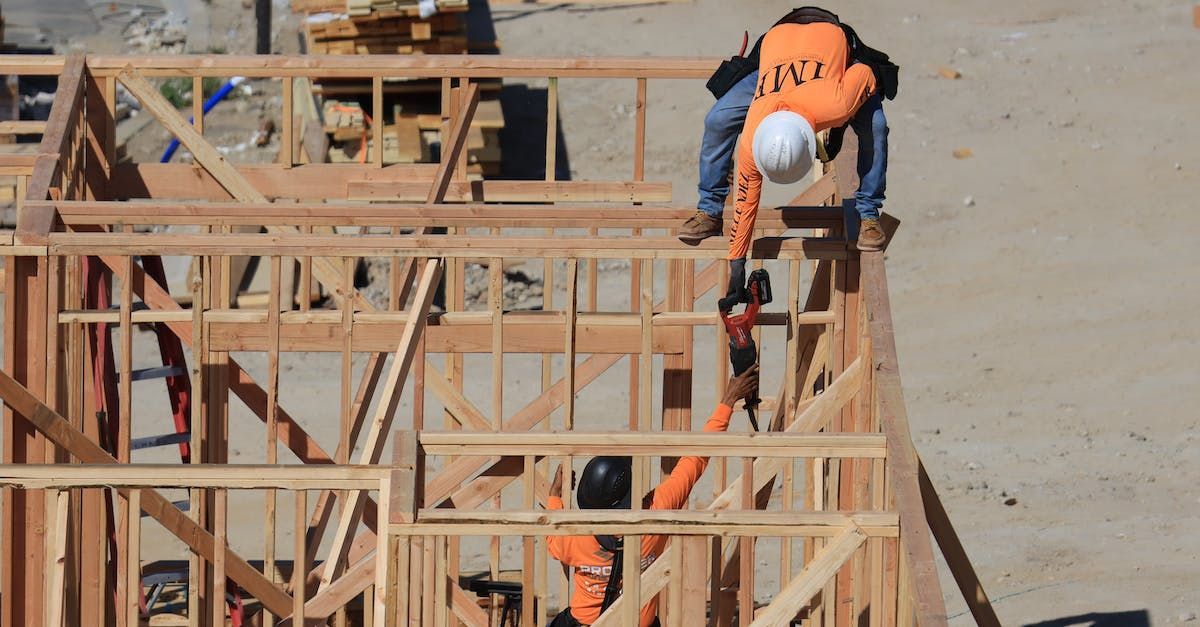
Repairing drywall is a common home improvement project that can save you money and enhance the aesthetics of your living space. While it may seem like a straightforward task, there are several common drywall mistakes that people often make when repairing drywall. Avoiding these mistakes is essential to ensure a successful and long-lasting repair. In this guide, we'll highlight some of the most frequent errors to help you achieve a professional-looking finish on your drywall repair project.
Neglecting Proper Preparation:
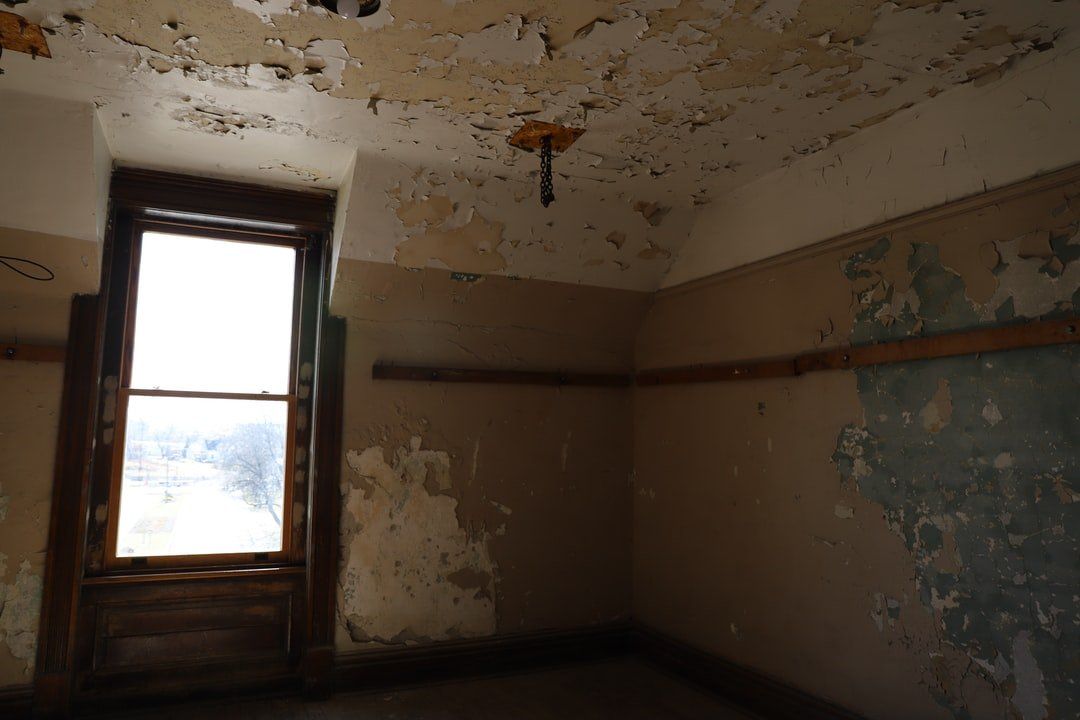
One of the most critical aspects of drywall repair is thorough preparation. Skipping this step can lead to a subpar result. Make sure to clean the damaged area, remove loose or damaged drywall, and create a smooth, even surface for patching. Failure to prepare the surface adequately can result in a patch that stands out, making the repair obvious.
Choosing the Wrong Patch Material:
Selecting the right patch material is crucial for a successful drywall repair. Common mistakes include using regular spackling compound for large holes or joint compound for small cracks. Make sure to match the patch material to the size of the damage. For larger holes, use a patch kit or drywall joint tape and compound, while small cracks may only require a lightweight spackling compound.
Overloading with Joint Compound:
Applying too much joint compound is a common mistake. Layering on excessive compound not only extends the drying time but can also result in a noticeable bulge or mound on the wall. Apply thin, even coats, and feather the edges to blend the patch seamlessly with the surrounding wall.
Ignoring Sanding:
Sanding is a crucial step in achieving a smooth and seamless finish. Many DIYers either skip this step or rush through it, leaving behind rough patches or uneven surfaces. Take your time to sand the patch area gently between each coat of compound to create a flawless finish
Rushing the Drying Process:
Patience is key when it comes to drywall repair. Rushing the drying process by using fans or heaters can lead to cracks and imperfections. Follow the manufacturer's recommendations for drying times between coats of compound, and allow the patch to dry completely before sanding or painting.
Neglecting Proper Feathering:
Feathering refers to the technique of blending the patch with the surrounding wall. Failing to feather the edges of the patch can result in visible seams or edges. Use a wide putty knife to feather the compound gradually outward, ensuring a smooth transition.
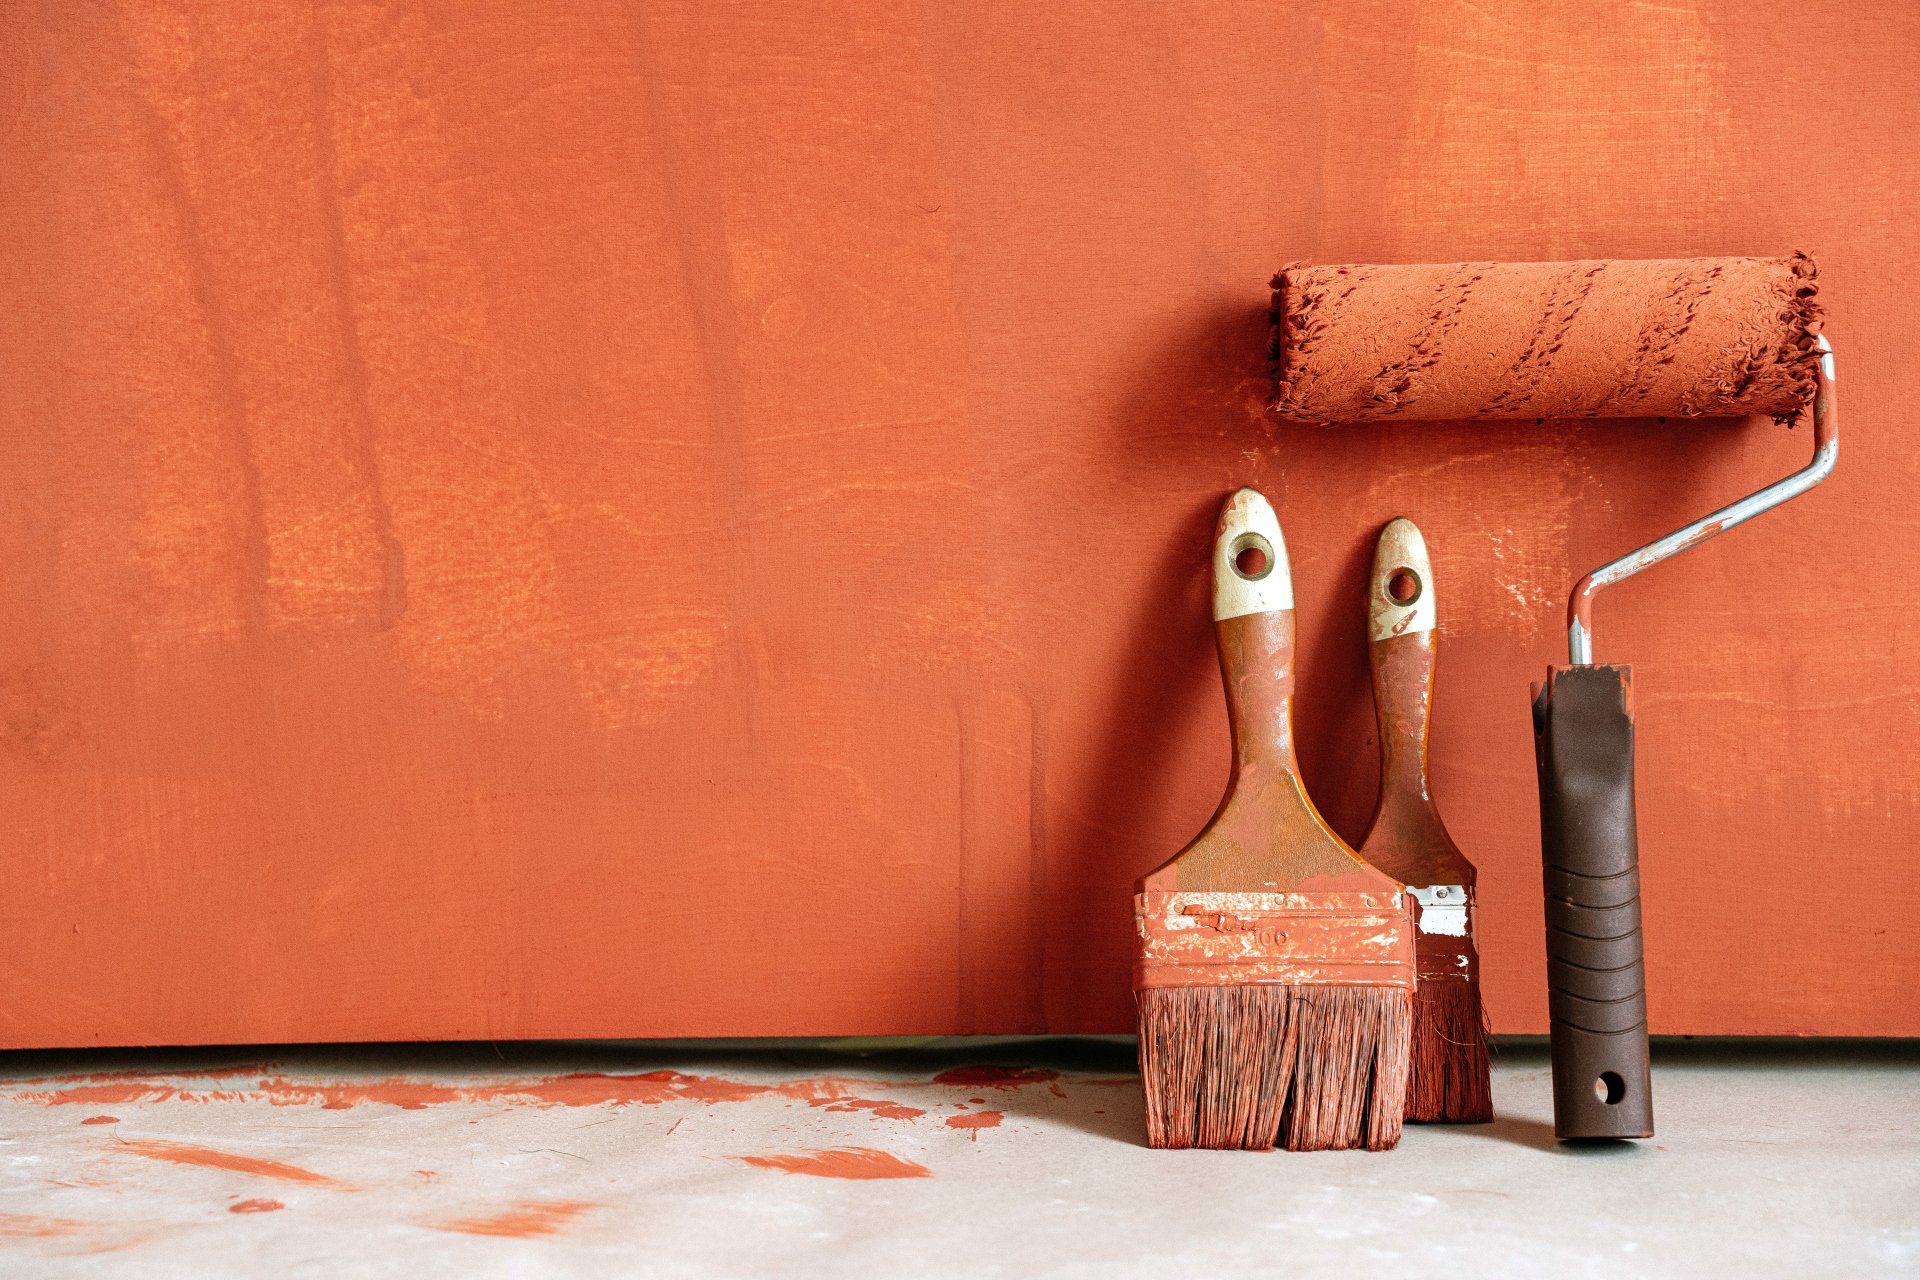
Forgetting to Prime:
Priming is often overlooked, but it's a crucial step before painting over a repaired area. Primer helps seal the patch, ensuring that the paint adheres evenly and that the repaired section matches the rest of the wall in terms of texture and appearance.
Conclusion:
Repairing drywall can be a rewarding DIY project, but it's important to avoid these common mistakes to achieve a professional finish. Proper preparation, selecting the right patch material, careful application of joint compound, thorough sanding, patience in drying, feathering, and priming are all essential steps in ensuring a successful drywall repair. By avoiding these mistakes and following best practices, you can enjoy a seamless and long-lasting result that enhances the beauty of your living space.